WordPress is a very popular content management software, because it allows anyone to build a website, even without any knowledge about HTML or programming. This tutorial should work on several Debian based Linux versions, and has been specifically tested on Ubuntu and Raspberry running the Raspbian operating system.
Apache installation
The engine running at the core of many websites is the classical web server Apache, wich provides the basic functionality needed when managing web pages. Its installation can be performed using this command:
sudo apt-get install apache2 apache2-utils
In order to have the Apache server up and running, we have to activate and start it, using the following commands.
sudo systemctl enable apache2
sudo systemctl start apache2
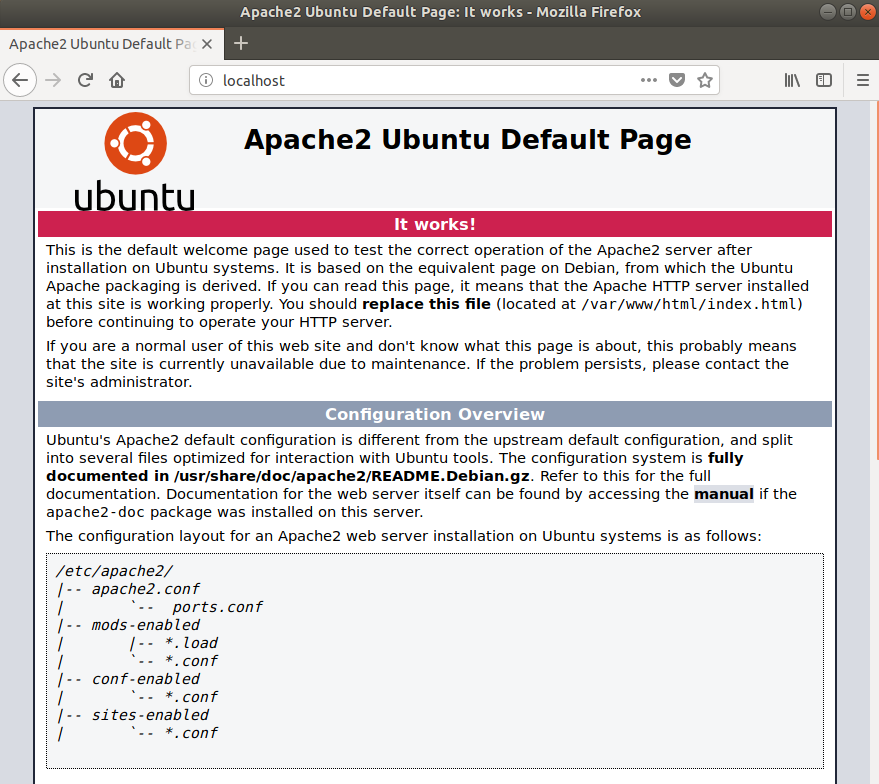
Now, the server should be able to show its test page: all we have to do is opening any internet browser, and copying in the internet address box, one of the following urls.
http://localhost
http://127.0.0.1
Or you can use the internet address of your server machine, if you are performing a remote installation. You should be able to achieve the following result.
To allow the use of any kind of permalink in WordPress, you have to enable the rewrite module in Apache and restart the server.
sudo a2enmod rewrite
sudo service apache2 restart
Database creation
WordPress needs a database, that will be managed by Mysql. First of all, we will have to install Mysql, using the following command and follow the instructions that will be displayed.
sudo apt-get install mysql-client mysql-server
During the installation, you may be asked to type the root database password, that is not usually the same as your system root password. The password will usually be asked during an installation performed on the Raspberry but, on more recent systems, root access to the database is forbidden for security reasons. In order to achieve a higher security, it is strongly advised, in systems with a direct connection to the internet, to run the following script, that disables some Mysql features that are critical for security.
sudo mysql_secure_installation
After the installation, Mysql can be run using the following command, that will launch the command line interface of the database, logging in as root and asking for the database root password.
mysql -u root -p
In systems where root access to the database isn’t allowed, you should be able to use the following command that will launch the database, with administrative privileges. You will be asked to type your system password.
sudo mysql
Type the following commands, in order to create the database, grant all the needed privileges, to the user that will be used by WordPress and exit.
CREATE DATABASE DATABASE_DA_CREARE;
CREATE USER 'UTENTE_WORDPRESS'@'localhost' IDENTIFIED BY 'PASSWORD_DATABASE';
GRANT ALL PRIVILEGES ON DATABASE_DA_CREARE.* TO 'UTENTE_WORDPRESS'@'localhost;
FLUSH PRIVILEGES;
EXIT;
To check if the procedure has been performed correctly, we an type the following command:
mysql> SHOW GRANTS FOR 'UTENTE_WORDPRESS'@'localhost';
+-------------------------------------------------------------------------------------------+
| Grants for UTENTE@localhost                                                               |
+-------------------------------------------------------------------------------------------+
| GRANT USAGE ON *.* TO `UTENTE_WORDPRESS`@`localhost`                                      |
| GRANT SELECT, INSERT, UPDATE ON `DATABASE_WORDPRESS`.* TO `UTENTE_WORDPRESS`@`localhost`  |
+-------------------------------------------------------------------------------------------+
Php installation
Now we can install php, the programming language used by WordPress. If we use the following command, without the version numbers, the last version will be installed.
sudo apt-get install php php-mysql libapache2-mod-php php-cli php-cgi php-gd
Our php installation is now ready to be tested, but we need a file including at least one php command. We can create it typing the following command, that creates a very basic file, in the default WordPress installation folder.
sudo sh -c " echo '<?php phpinfo(); ?>' >> /var/www/html/info.php"
Or you can use your favorite text editor and save a file with the following content.
<?php phpinfo(); ?>
The file has to be saved, as”info.php” and copied, using admin access, in the following folder: “/var/www/html/”
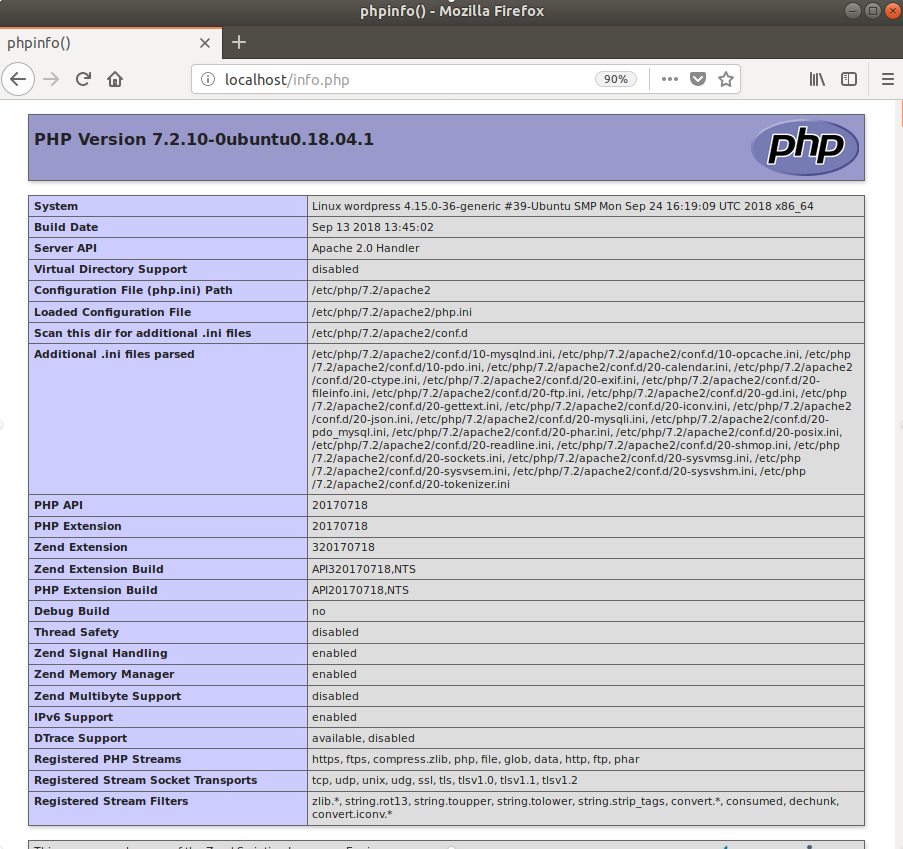
At this point, php should be able to run. To test it, just open your browser and type the following url:
http://localhost/info.php
You should be able to achieve the following result.
If you plan to use Adsense, to monetize your web site, installing the following package may be useful. It provides php the interface needed to analyze and manage data contained in xml files.
sudo apt-get install php-xml
WordPress installation
To download and unpack the WordPress files in our server, we can type:
wget -c http://wordpress.org/latest.tar.gz
tar -xzvf latest.tar.gz
Now, we will have to copy the newly unpacked files in he folder where we want to install our website. The default folder is:
/var/www/html/
sudo rsync -av wordpress/* /var/www/html/
At last before we can run the last stages of WordPress installation, we will have to grant all the privileges needed by the Apache process so that it can gain full access to the files used by WordPress. The first row changes the owner and group for all’the files in the folder. While the second and third modify the privileges related to files and folders.
sudo chown -R www-data:www-data /var/www/html/
sudo find /var/www/html -type d -exec chmod 775 {} +;
sudo find /var/www/html -type f -exec chmod 664 {} +;
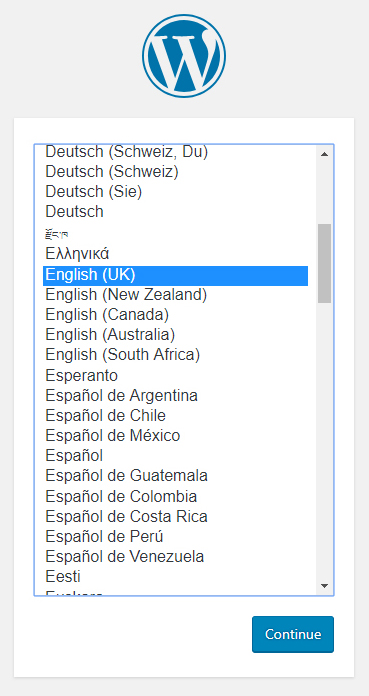
Now we can run WordPress to complete the final installation stages: the first question is related to the language we want to use in the system.
After that, a message will be presented, regarding the following configuration steps.
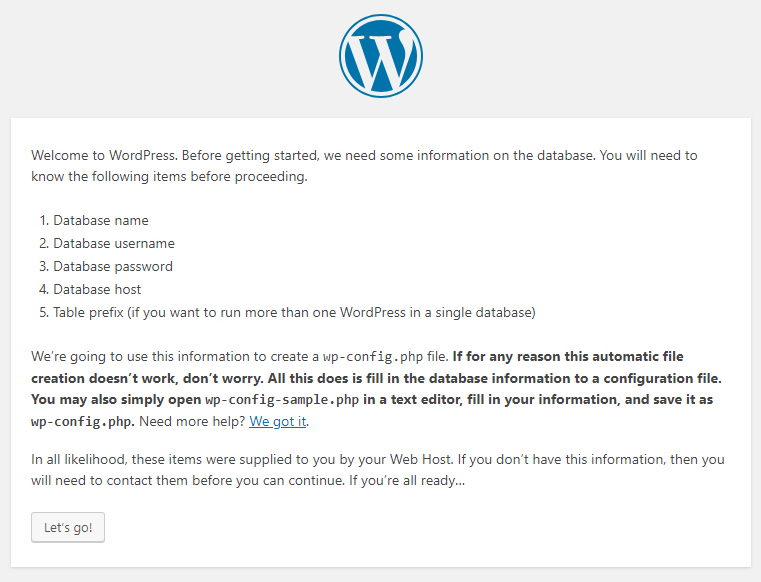
Now we have to type the database configuration data: database name, user name and database password, have to be the same we have already used during the database configuration. The database host has to be the IP or domain of the machine were the database has been installed: in most cases, localhost will be just fine.
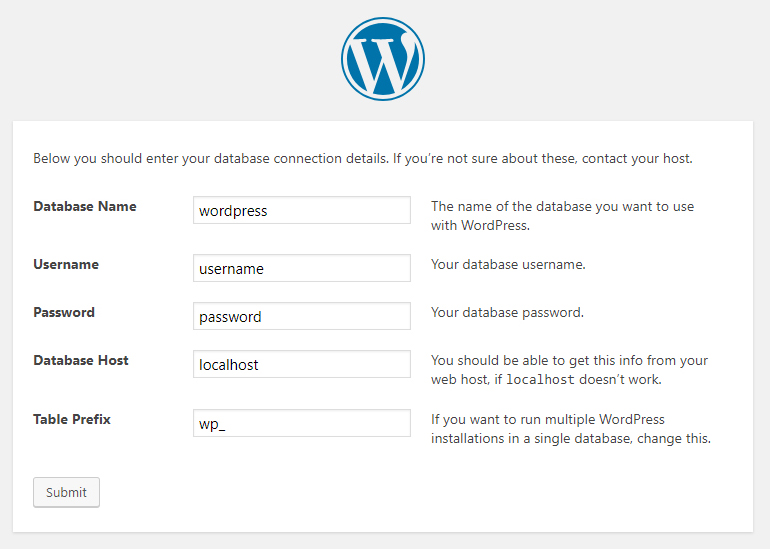
This configuration step will work much better if we don’t choose to work with the root database user, because in some more recent system, WordPress could not be able do gain access to the database. Another problem may arise if the commands regarding the access privileges of the file in the WordPress folder has not been performed correctly.
As a last step we will have to type the user configuration data. The site title will be shown by most themes in your site header. To achieve a reasonable security Choose a strong password, because the login window will be accessible from the internet.
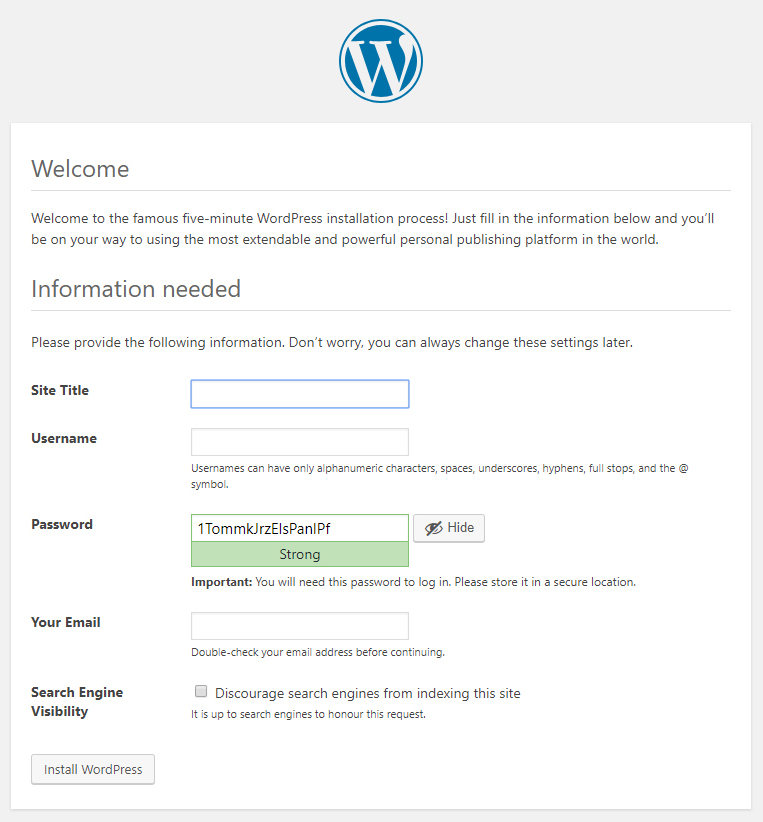
Congratulations!
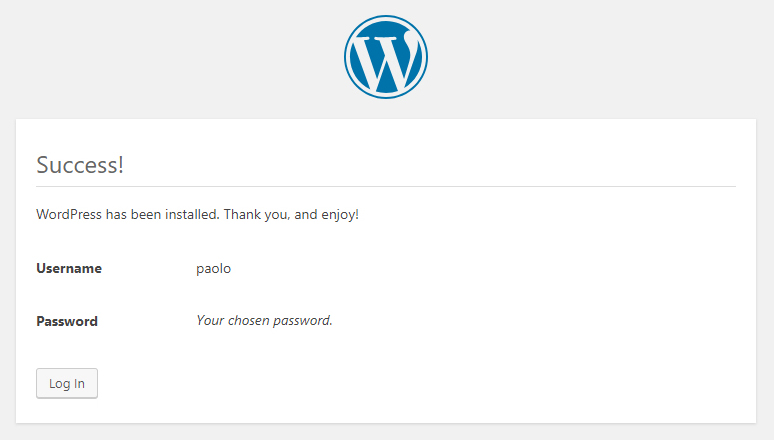
If you have performed all’the steps correctly, you are the proud administrator of your WordPress website.
